Homemade Cheesy Garlic Breadsticks: The Amazing Ultimate Recipe
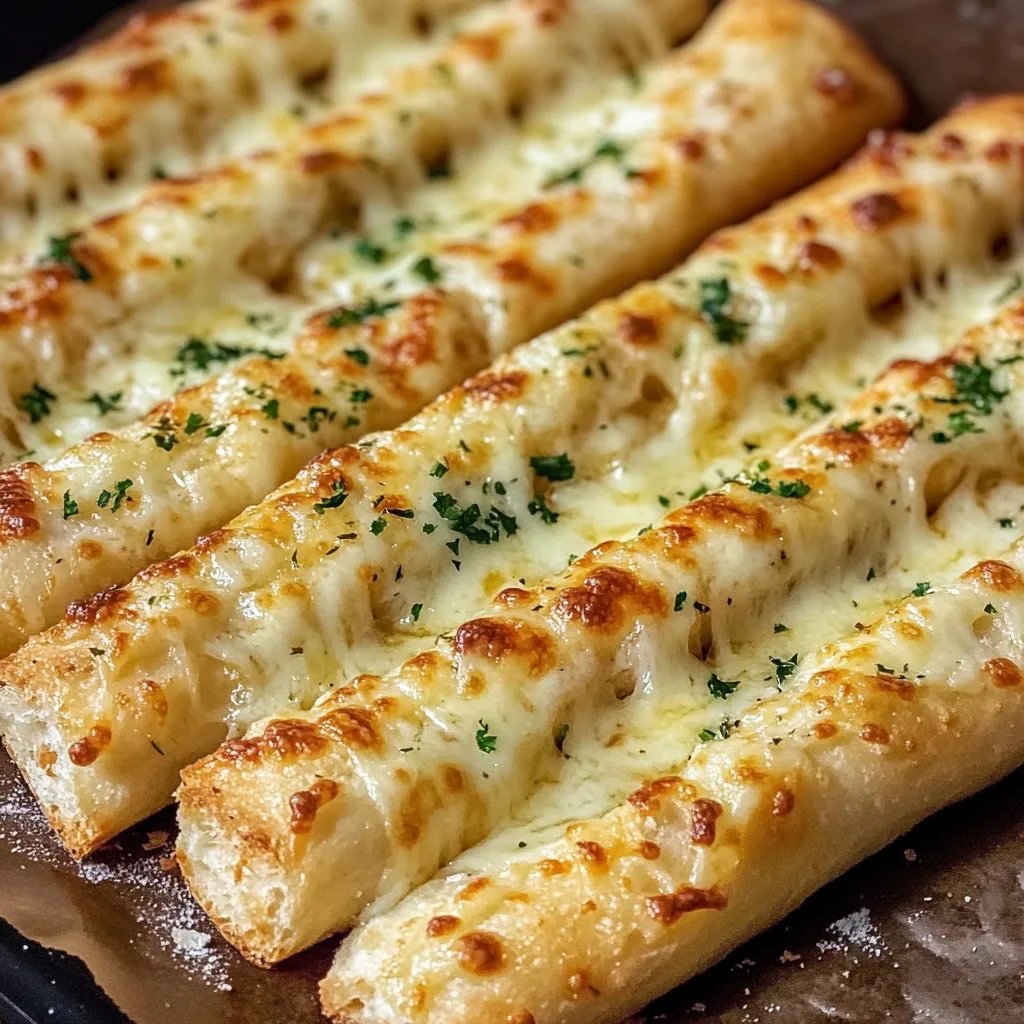
Homemade Cheesy Garlic Breadsticks make for an amazing appetizer or side dish that brings comfort and joy to any meal. Imagine pulling a piping hot, cheesy, and garlicky breadstick from the oven and taking that first delectable bite. The warm, gooey cheese, combined with the aromatic garlic, creates a heavenly experience that promises to please even the pickiest eaters. Whether you’re hosting a dinner party, enjoying a movie night, or just craving a snack, these breadsticks are the ultimate solution.
If you’ve ever dreamed of creating the perfect cheesy garlic breadsticks at home, you’re in for a treat. Not only are they easy to make, but their incredible flavor will have your family and friends raving. With just a few simple ingredients and some straightforward preparation, you can create a dish that feels gourmet yet is made right in your kitchen. Let’s dig into the reasons why this recipe is a must-have!
Why You’ll Love This Recipe
Homemade Cheesy Garlic Breadsticks are a crowd favorite for numerous reasons. Here’s what you can look forward to when you whip up this fantastic dish:
1. Simple Ingredients: Most ingredients are pantry staples, making it easy to whip up whenever cravings strike.
2. Customizable: You can modify the cheese types or herbs to suit your tastes, offering endless options.
3. Perfect for Sharing: These breadsticks are easily sharable, ideal for gatherings or family dinners.
4. Quick Preparation: With a straightforward process, you can prepare and bake them in under an hour.
5. Incredible Flavor: The combination of gooey cheese, fragrant garlic, and fresh herbs provides a delightful flavor explosion.
6. Great for Dipping: Serve with marinara sauce or garlic butter for an even more elevated experience.
With all these benefits, it’s easy to see why everyone is bound to love homemade cheesy garlic breadsticks! Each bite will have you savoring the incredible flavors, making it impossible to stop at just one.
Preparation and Cooking Time
To enjoy these delicious Homemade Cheesy Garlic Breadsticks, you will need a total of about 45 minutes. Here’s how the time breaks down:
– Preparation Time: 15 minutes
– Cooking Time: 25-30 minutes
– Resting Time: 5-10 minutes
These times can vary slightly based on your proficiency in the kitchen, but this should give you a clear guideline for your culinary adventure ahead!
Ingredients
– 1 cup warm water (about 110°F)
– 2 teaspoons active dry yeast
– 2 tablespoons granulated sugar
– 3 cups all-purpose flour
– 1 teaspoon salt
– 2 tablespoons olive oil
– 1 cup shredded mozzarella cheese
– ¼ cup grated Parmesan cheese
– 3 tablespoons butter, melted
– 3-4 cloves garlic, minced
– 1 teaspoon dried parsley (optional)
– 1 teaspoon garlic powder (optional)
Step-by-Step Instructions
Creating these amazing Homemade Cheesy Garlic Breadsticks is simple! Just follow these clear steps:
1. Activate Yeast: In a small bowl, combine warm water, yeast, and sugar. Let it sit for about 5-10 minutes or until frothy.
2. Mix Dry Ingredients: In a large bowl, whisk together flour and salt.
3. Combine Mixtures: Create a well in the center of the flour mixture and add the yeast mixture and olive oil.
4. Knead Dough: Mix until it forms a dough. Knead on a floured surface for 5-7 minutes until smooth and elastic.
5. Let Dough Rise: Place the dough in a greased bowl, cover it with a cloth, and let it rise in a warm area for 30 minutes or until doubled in size.
6. Preheat Oven: Preheat your oven to 375°F (190°C).
7. Roll Out Dough: Once the dough has risen, punch it down and roll it out into a rectangle about ½ inch thick.
8. Prepare Cheese Filling: Sprinkle shredded mozzarella and grated Parmesan evenly over the dough.
9. Cut into Strips: Using a pizza cutter or knife, cut the dough into strips of desired width.
10. Arrange on Baking Sheet: Transfer the strips onto a lined baking sheet, keeping them close but not overlapping.
11. Mix Garlic Butter: In a separate bowl, combine melted butter, minced garlic, and optional parsley and garlic powder.
12. Brush onto Breadsticks: Brush the garlic butter mixture over the breadsticks generously.
13. Bake: Place in the preheated oven and bake for 25-30 minutes or until golden brown and the cheese is bubbly.
14. Cool Briefly: Remove from the oven and let the breadsticks cool for 5-10 minutes before serving.
These steps will guide you in creating cheese-filled, buttery delights that will impress anyone who tastes them!
How to Serve
Serving Homemade Cheesy Garlic Breadsticks can be just as fun as making them! Here are some tips to elevate your presentation:
1. Presentation Plate: Serve the breadsticks on a rustic wooden board or a sleek white platter for an attractive display.
2. Accompaniments: Pair with a side of marinara sauce or ranch dressing for dipping to add an extra layer of flavor.
3. Sprinkle Fresh Herbs: A sprinkle of fresh parsley or basil on top before serving can add a burst of color and freshness.
4. Cheese Enhancement: For added cheesiness, sprinkle a little extra cheese on top just before the final minutes of baking.
5. Perfect Portions: Cut the breadsticks into different lengths, offering variety to your guests and making sharing easy and enjoyable.
Putting thought into how you serve these delicious Homemade Cheesy Garlic Breadsticks will make them a memorable treat for any occasion! Enjoying them fresh from the oven is a true delight, and the smiles on your guests’ faces will be priceless!
Additional Tips
– Use Fresh Ingredients: Fresh garlic and quality cheese enhance the flavors of your Homemade Cheesy Garlic Breadsticks significantly.
– Resting Dough: Allowing your dough to rise in a warm area is crucial for achieving a fluffy texture in your breadsticks.
– Experiment with Herbs: Feel free to experiment by adding fresh herbs like basil or oregano for a unique flavor.
– Don’t Overbake: Keep a close eye on your breadsticks as they bake, to prevent them from getting too crunchy.
Recipe Variation
Mix it up and customize your Homemade Cheesy Garlic Breadsticks! Here are a few variations you might consider:
1. Add Spices: Incorporate red pepper flakes or Italian seasoning into the garlic butter for a spicy kick.
2. Cheese Lover’s Delight: Add different types of cheese like cheddar, gouda, or feta to mix up the flavors.
3. Stuffed Breadsticks: For an indulgent twist, fill the breadsticks with pepperoni or cooked spinach before rolling them up.
Freezing and Storage
– Storage: Keep your breadsticks in an airtight container at room temperature for 1-2 days. After this, store them in the fridge to maintain freshness.
– Freezing: You can freeze these homemade breadsticks for up to 2 months. Wrap them tightly in plastic wrap and place them in a freezer-safe bag. When ready to eat, thaw them and reheat in the oven.
Special Equipment
To prepare your Homemade Cheesy Garlic Breadsticks, you may need the following tools:
– Mixing bowls for combining ingredients
– Rolling pin for flattening the dough
– Pizza cutter or knife for cutting strips
– Baking sheet or stone for baking
– Pastry brush for applying the garlic butter
Frequently Asked Questions
Can I use a different type of cheese?
Yes, you can substitute mozzarella with other cheeses like provolone, gouda, or even a spicy cheese for a twist.
What can I dip these breadsticks in?
Homemade Cheesy Garlic Breadsticks pair well with marinara sauce, ranch dressing, or garlic butter for extra flavor.
How do I know if my breadsticks are cooked?
They should be golden brown on the top, and the cheese should be melted and bubbly.
Can I make these breadsticks without yeast?
You can make a yeasty variant, but if you’re looking for a quicker dough, consider using baking powder instead.
Is there a gluten-free version of this recipe?
Absolutely! Use gluten-free flour to substitute regular flour for a gluten-free option.
Conclusion
Homemade Cheesy Garlic Breadsticks are a delightful addition to any meal or gathering. Their gooey cheese, aromatic garlic, and customizable toppings will keep everyone asking for more. With simple ingredients and easy-to-follow instructions, you can bring the taste of a gourmet appetizer right into your kitchen. Enjoy these delectable treats fresh from the oven, and watch as they become a favorite among friends and family alike!